How to Make Espresso at Home on a Semi-Automatic Machine
Warm up the machine, grind fine, weigh 18 g into the basket, tamp level, and stop the shot at 36 g in the cup. That should take about 25 to 30 seconds. It is a good first recipe, not a standard, so let taste make the final call. You need a machine, a grinder that goes fine, and a scale.
Disclosure: This page contains affiliate links (marked with *). If you buy through them, we earn a small commission at no extra cost to you. As an Amazon Associate I earn from qualifying purchases. Learn more
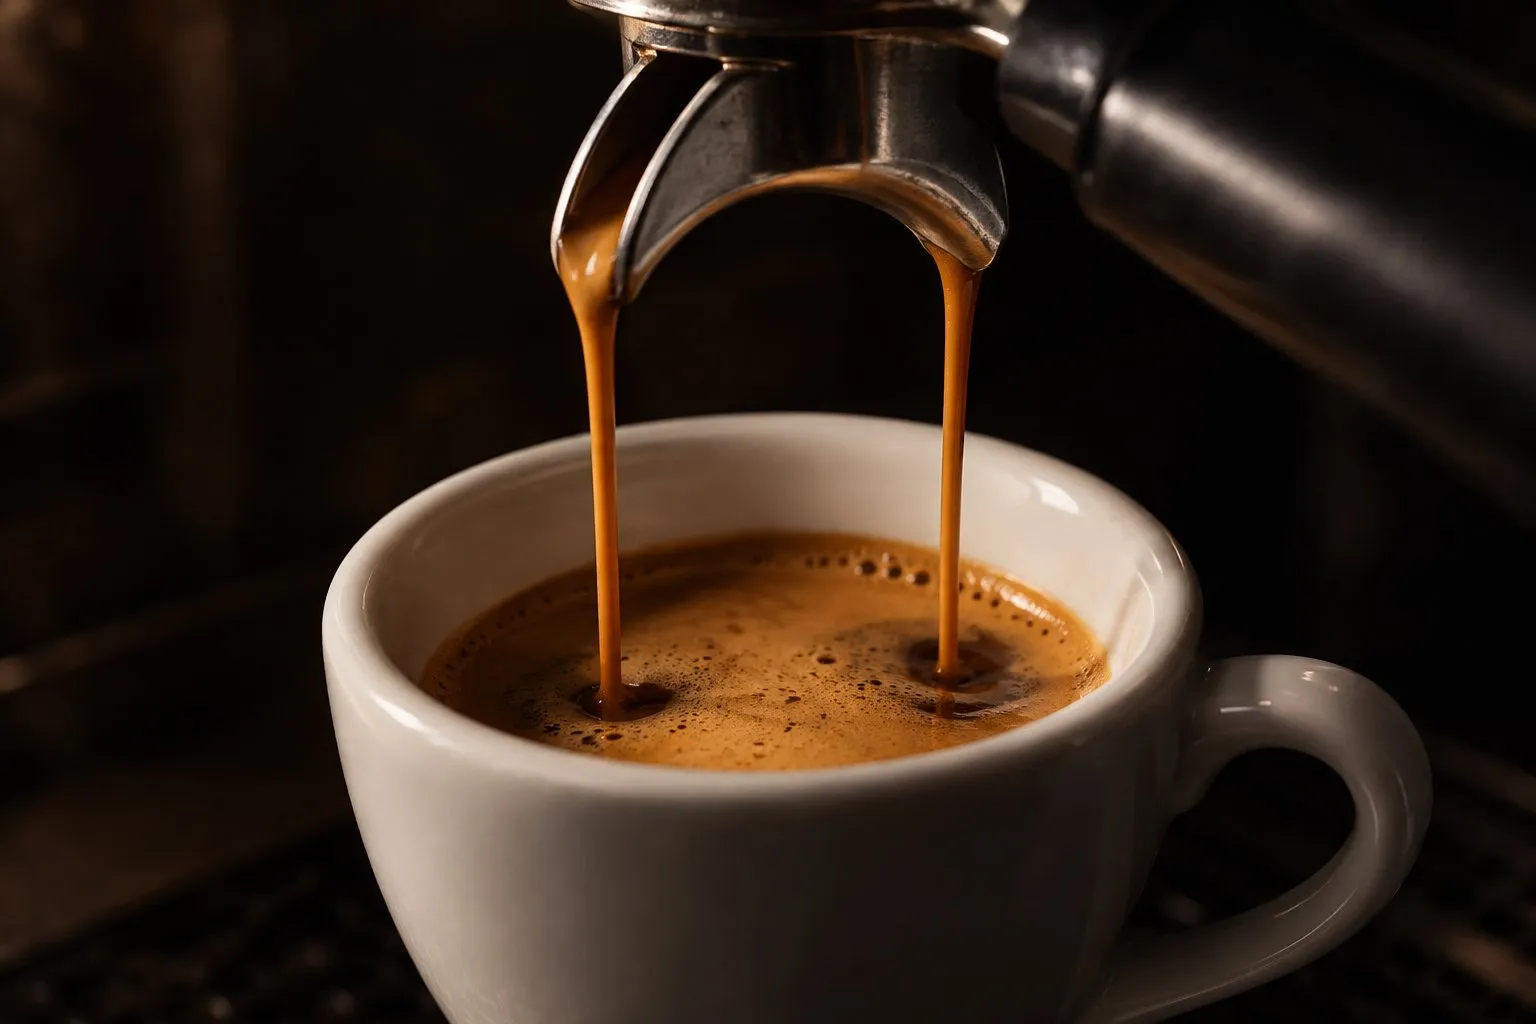
Warm the machine and flush the group. Grind to about the texture of fine table salt, weigh 18 g into a clean basket, level it, tamp evenly and wipe the rim. Lock in, put your cup on a scale, start the shot and stop at 36 g. Aim for 25 to 30 seconds, then taste it.
On this page
What you get: one shot of espresso, weighed in and out, and a recipe you can repeat tomorrow. How long it takes: the shot itself about half a minute. The warm-up depends on your machine. Breville's booklet gives 3 seconds for the Bambino Plus, and Gaggia's manual says to wait a few minutes.
A semi-automatic machine supplies the pressure and the temperature. You do the rest, and this page covers the whole round from a cold machine to a clean basket. Once you can pull a shot, dialing in is how you make it taste good with a new coffee.
What you need
- A pump machine. Any of them works for this routine. The steps below use the manuals for several machines, so where yours differs, follow your own.
- A grinder that goes fine. Breville's guide prefers burr grinders to blade grinders. Our grinder guide has the options.
- A scale with 0.1 g steps and a timer. You weigh the coffee going in and the espresso coming out. Our scale page covers the choice.
- Fresh beans. Breville recommends a roasted-on date on the bag, and using them between 5 and 20 days after that date. Stale coffee may pour too fast and taste bitter and watery.
- Filtered or mineral water. Breville's guide suggests either one, to avoid off-flavors.
Pull your first shot
Fill and warm up
Fill the tank with fresh water before you switch on, then wait for the ready light. Gaggia's manual has you keep the portafilter in the machine so the whole brew unit stays at temperature.Flush the group
Run a short flow of water through the group head. Breville says this stabilizes the temperature before extraction. Then dry the basket.Grind and weigh
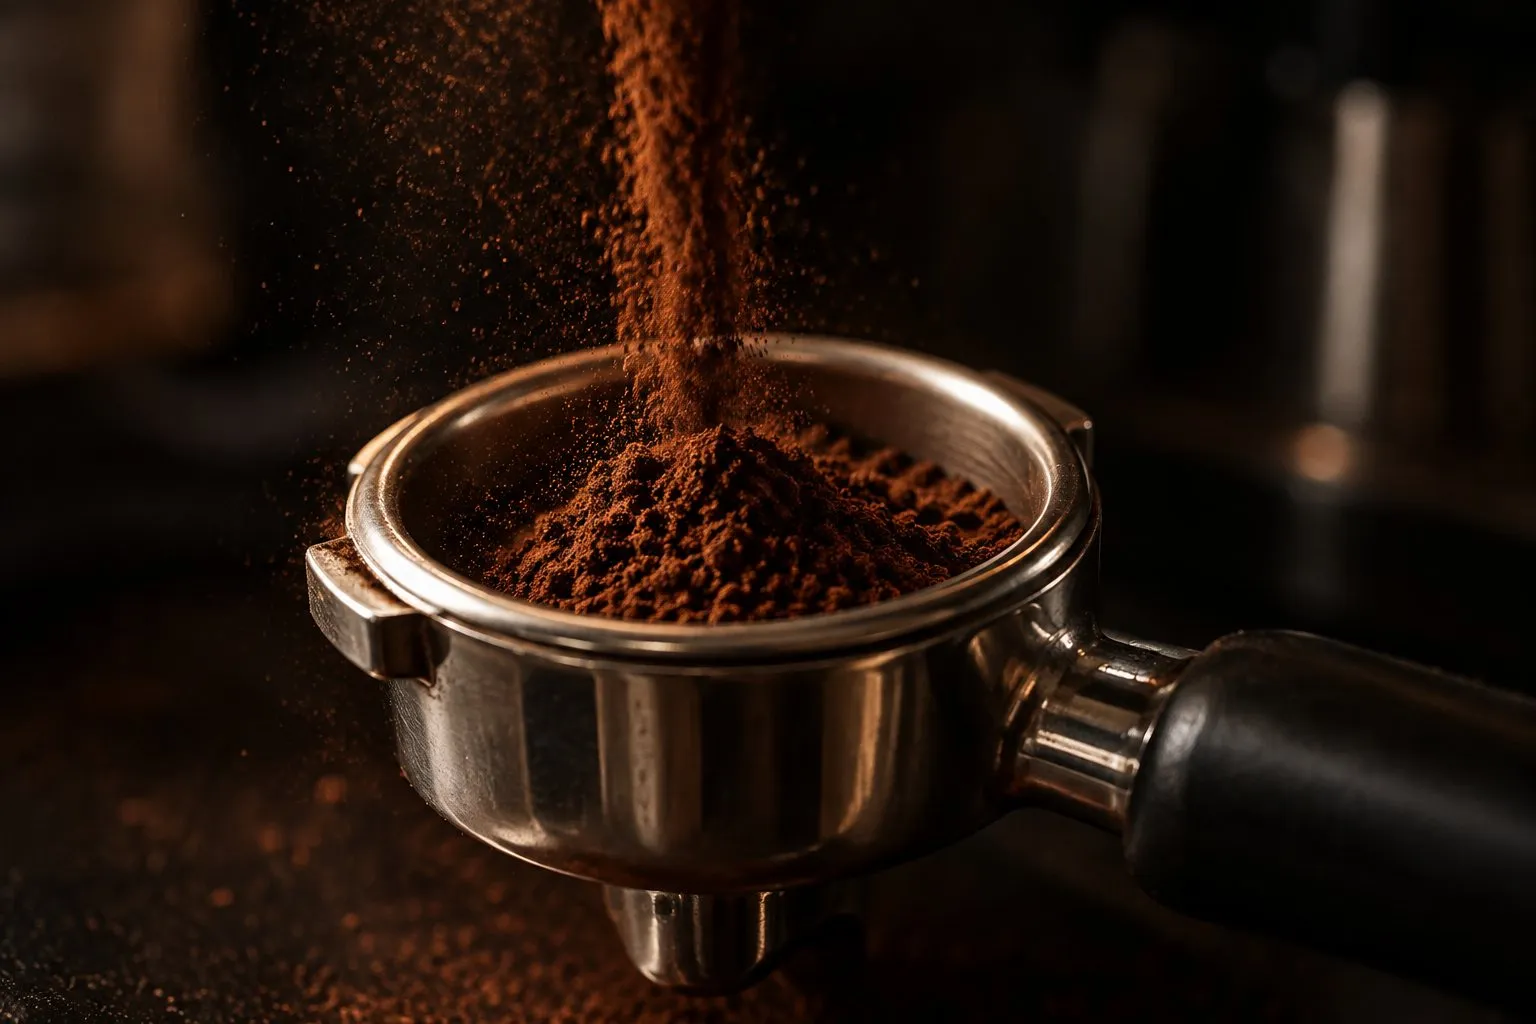
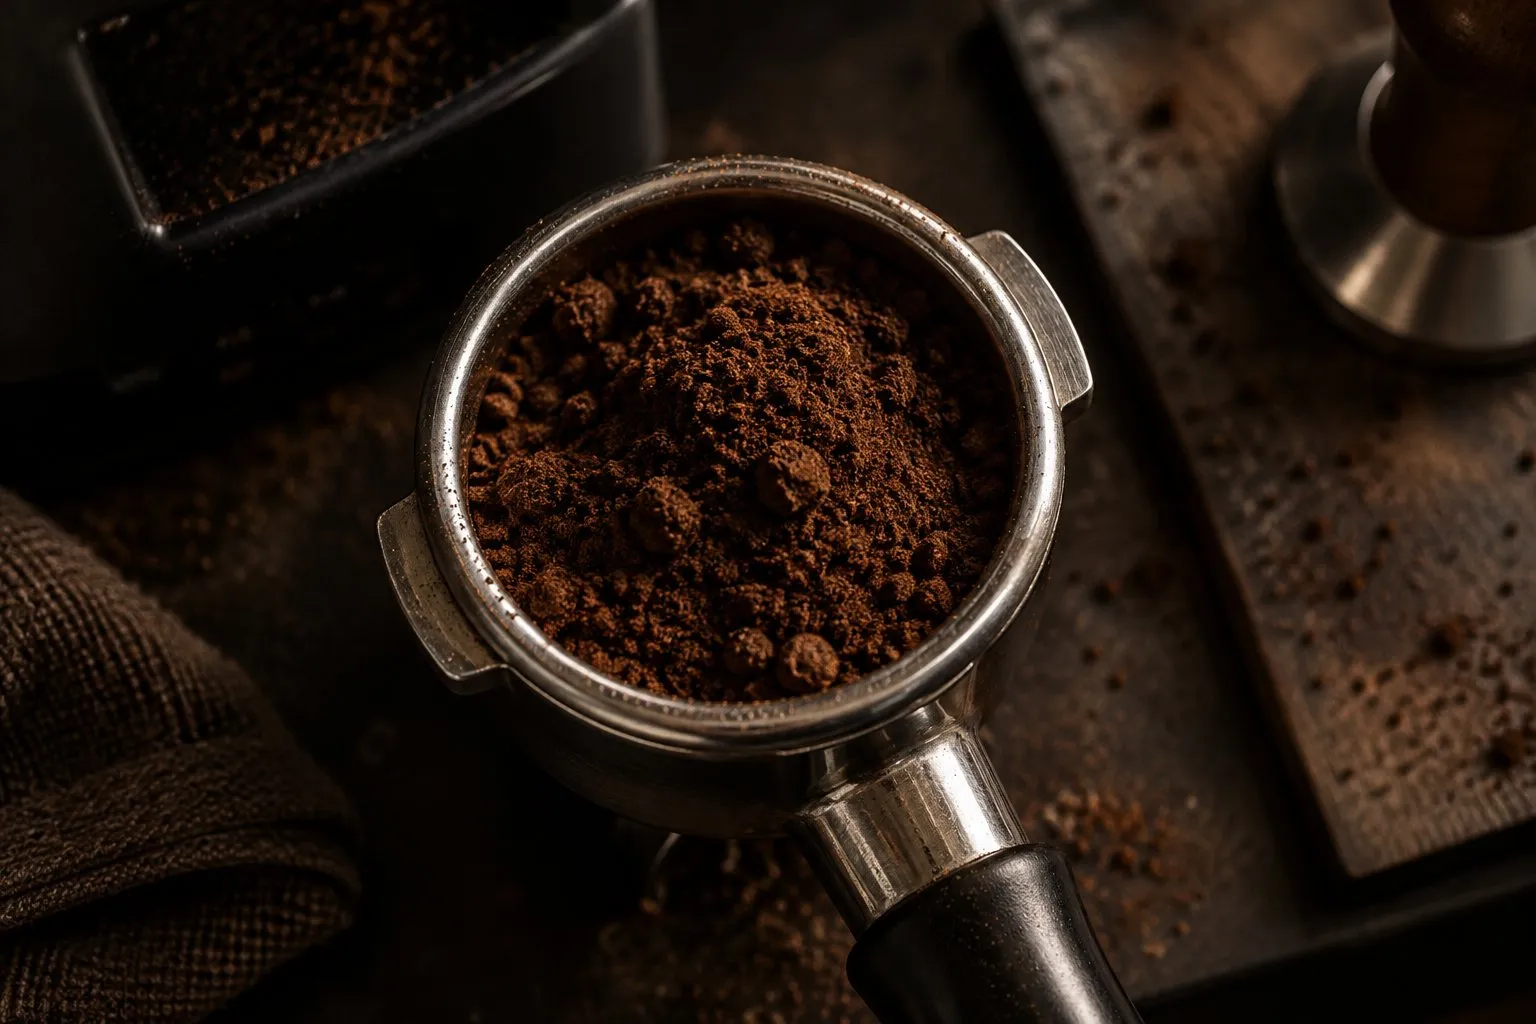
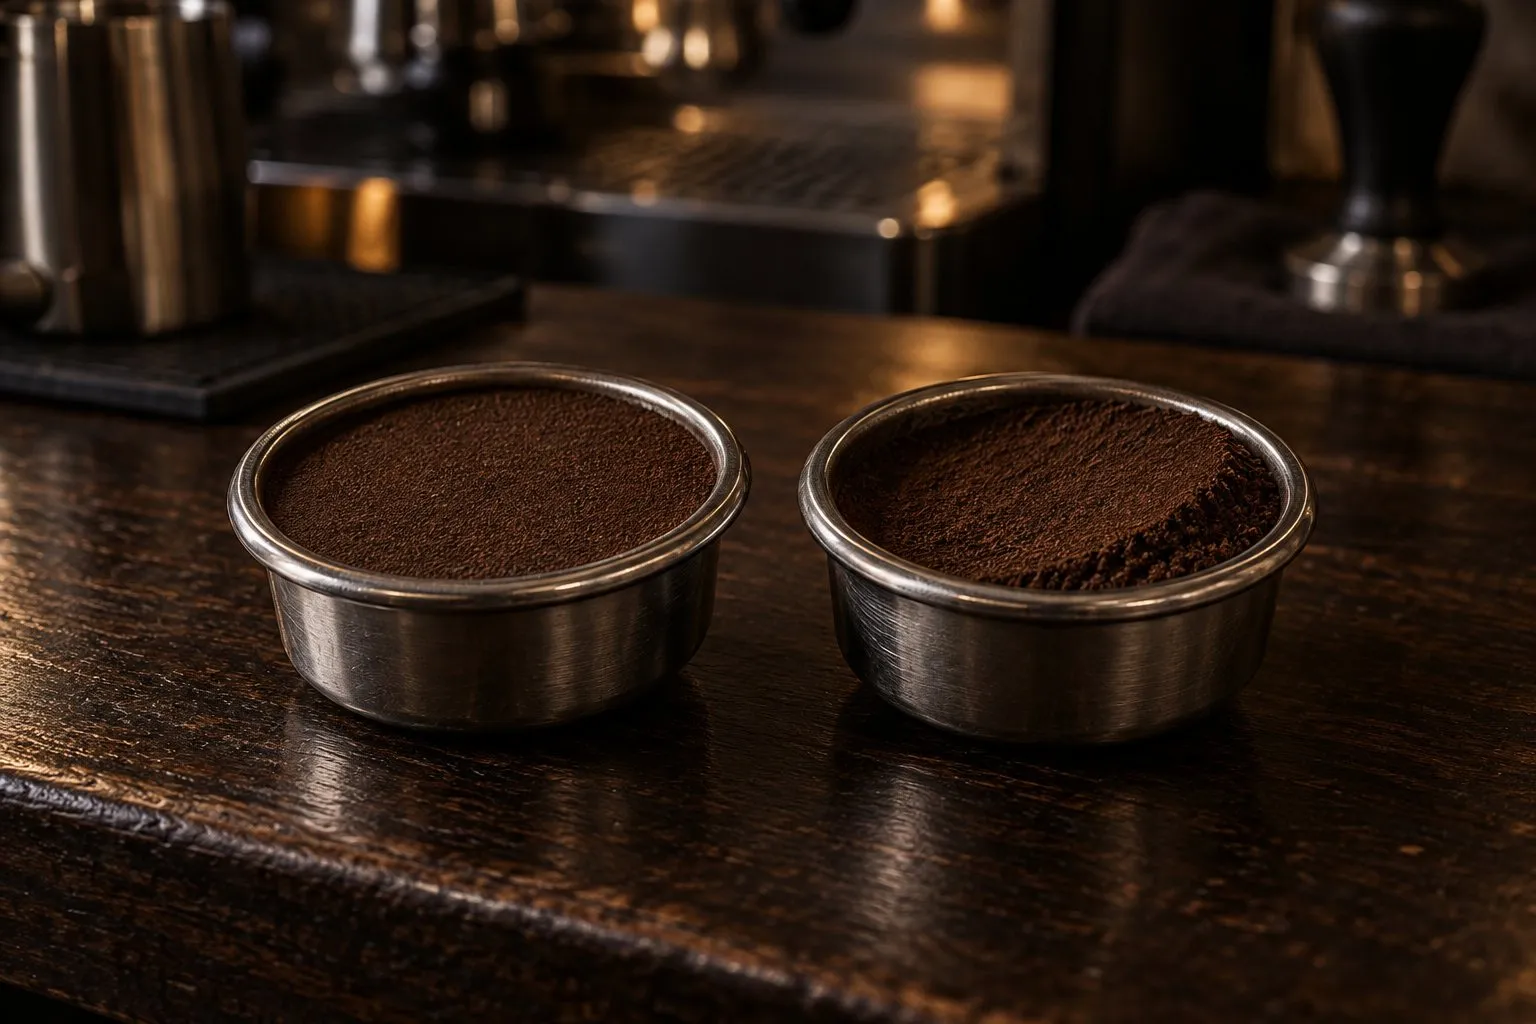
Start at a texture close to fine table salt, and weigh 18 g into the basket. If your basket is made for less, use what it is made for. Your manual gives the range.Level and tamp
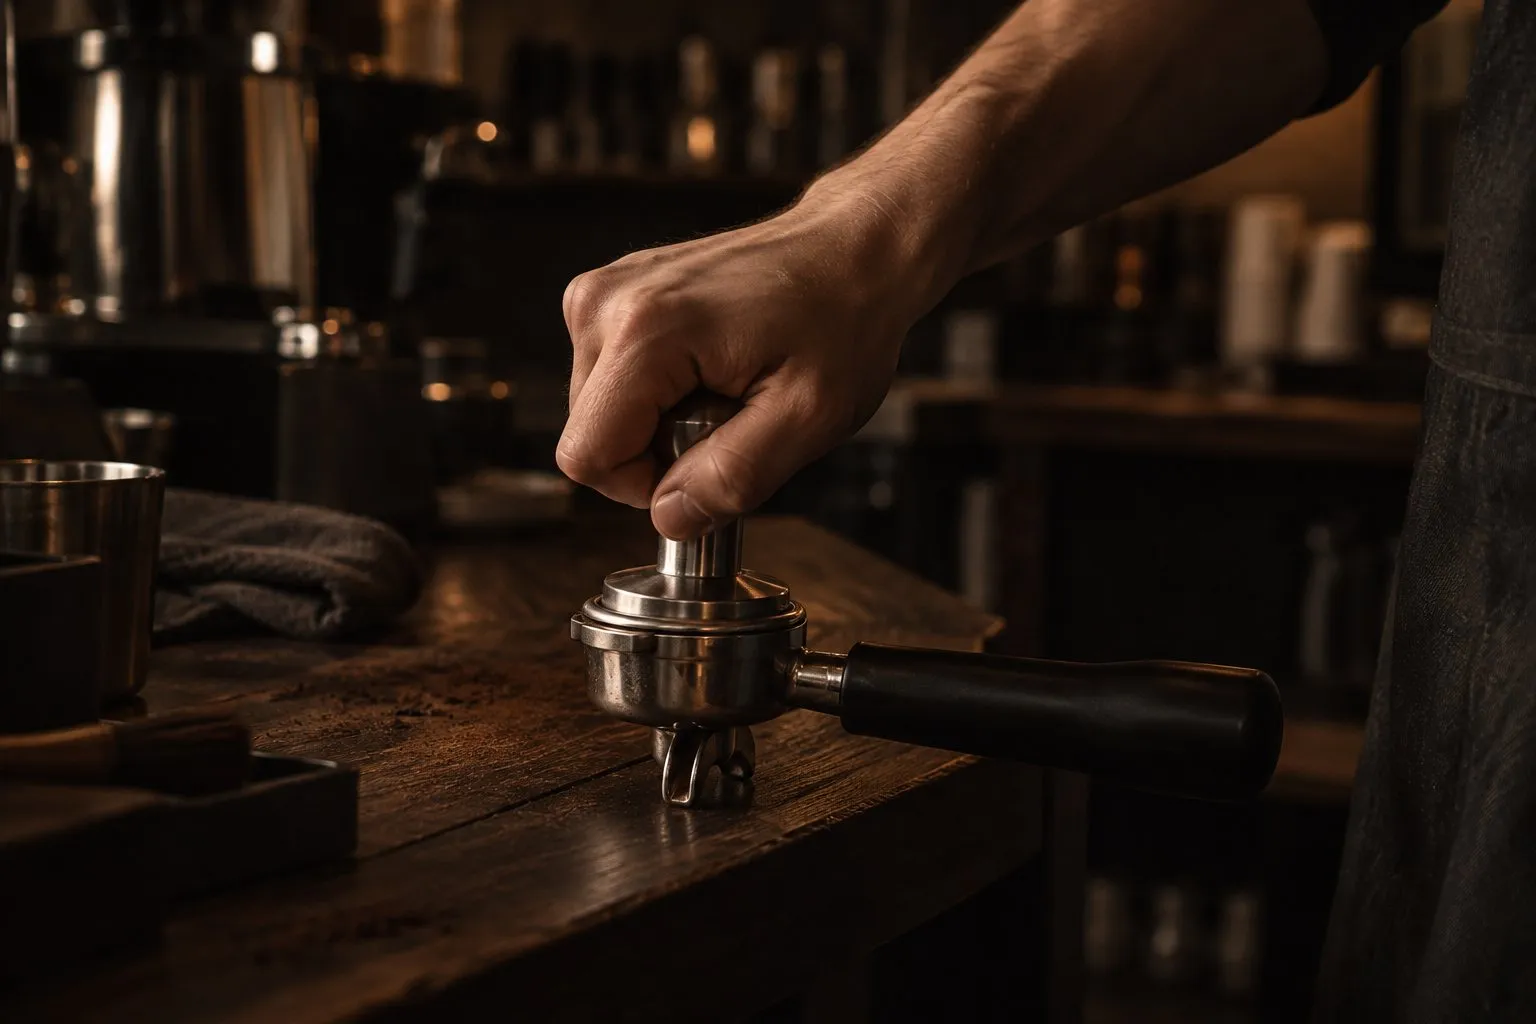
Tap the portafilter or stir so the bed is even, then press until the coffee stops compressing, and keep it level. Wipe loose grounds off the rim so the seal is clean.Lock in and pull
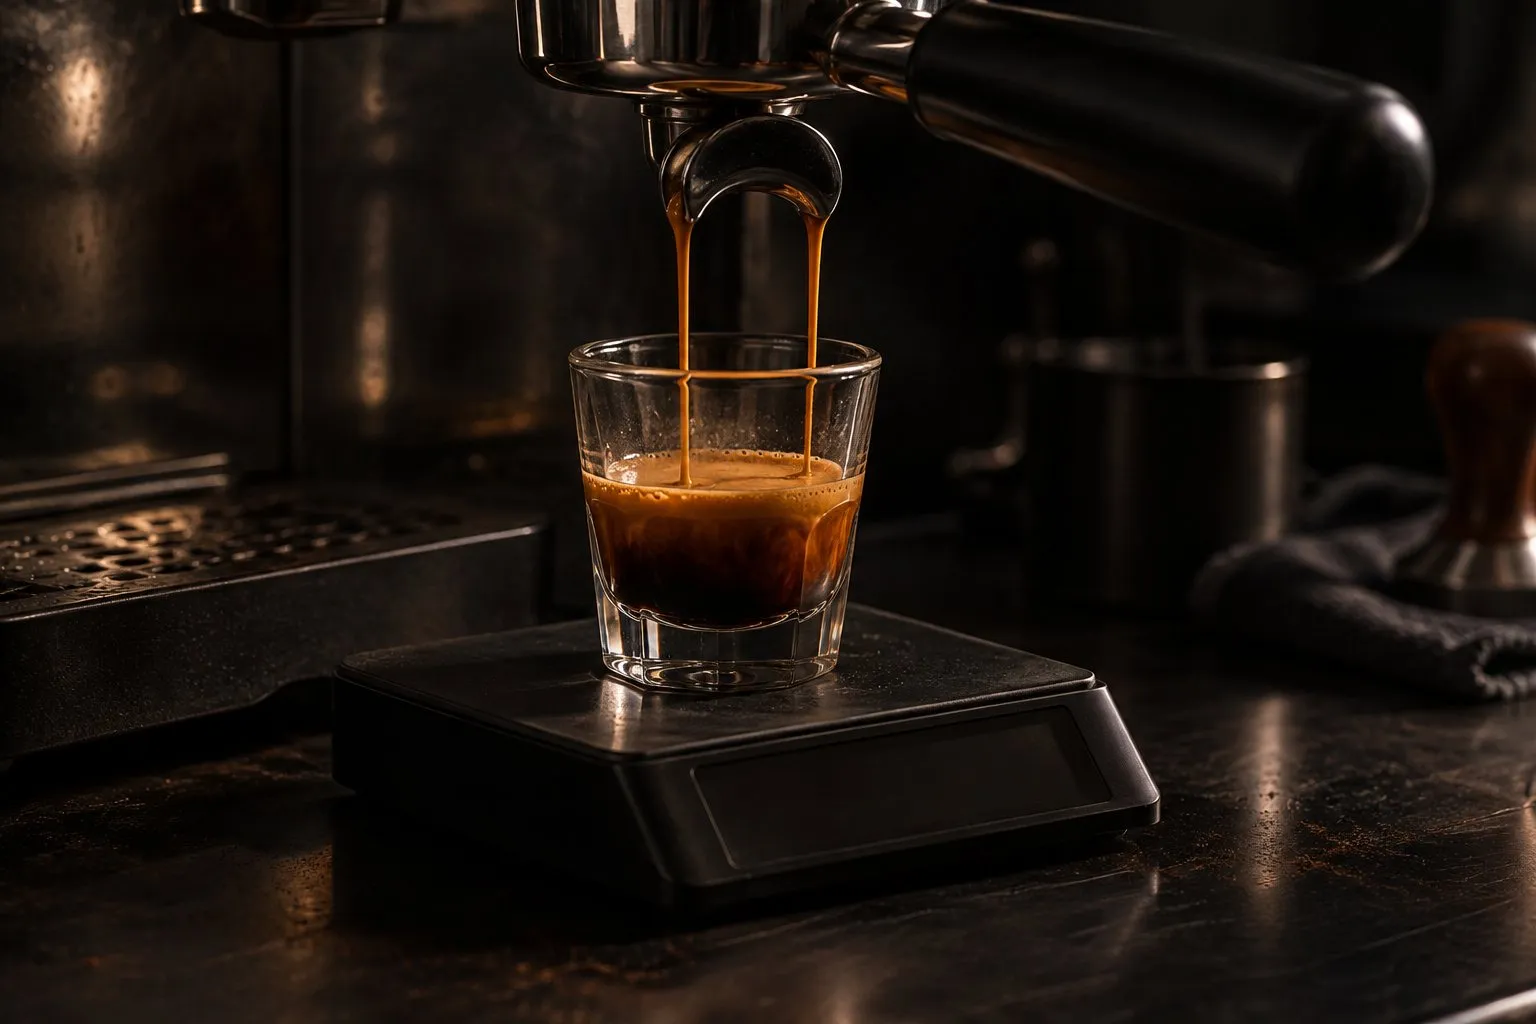
Lock the portafilter in, set your cup on the scale, zero it and start the shot. Time from the start of the brew cycle, as Breville does.Stop by weight
Stop when the scale reads 36 g, whatever the clock says. Aim for 25 to 30 seconds, and accept 20 to 40 if you like the cup.Taste and adjust
Taste it before you change anything. If it ran fast and tastes sour or thin, grind finer next time. If it ran slow and tastes bitter, grind coarser.Clean up
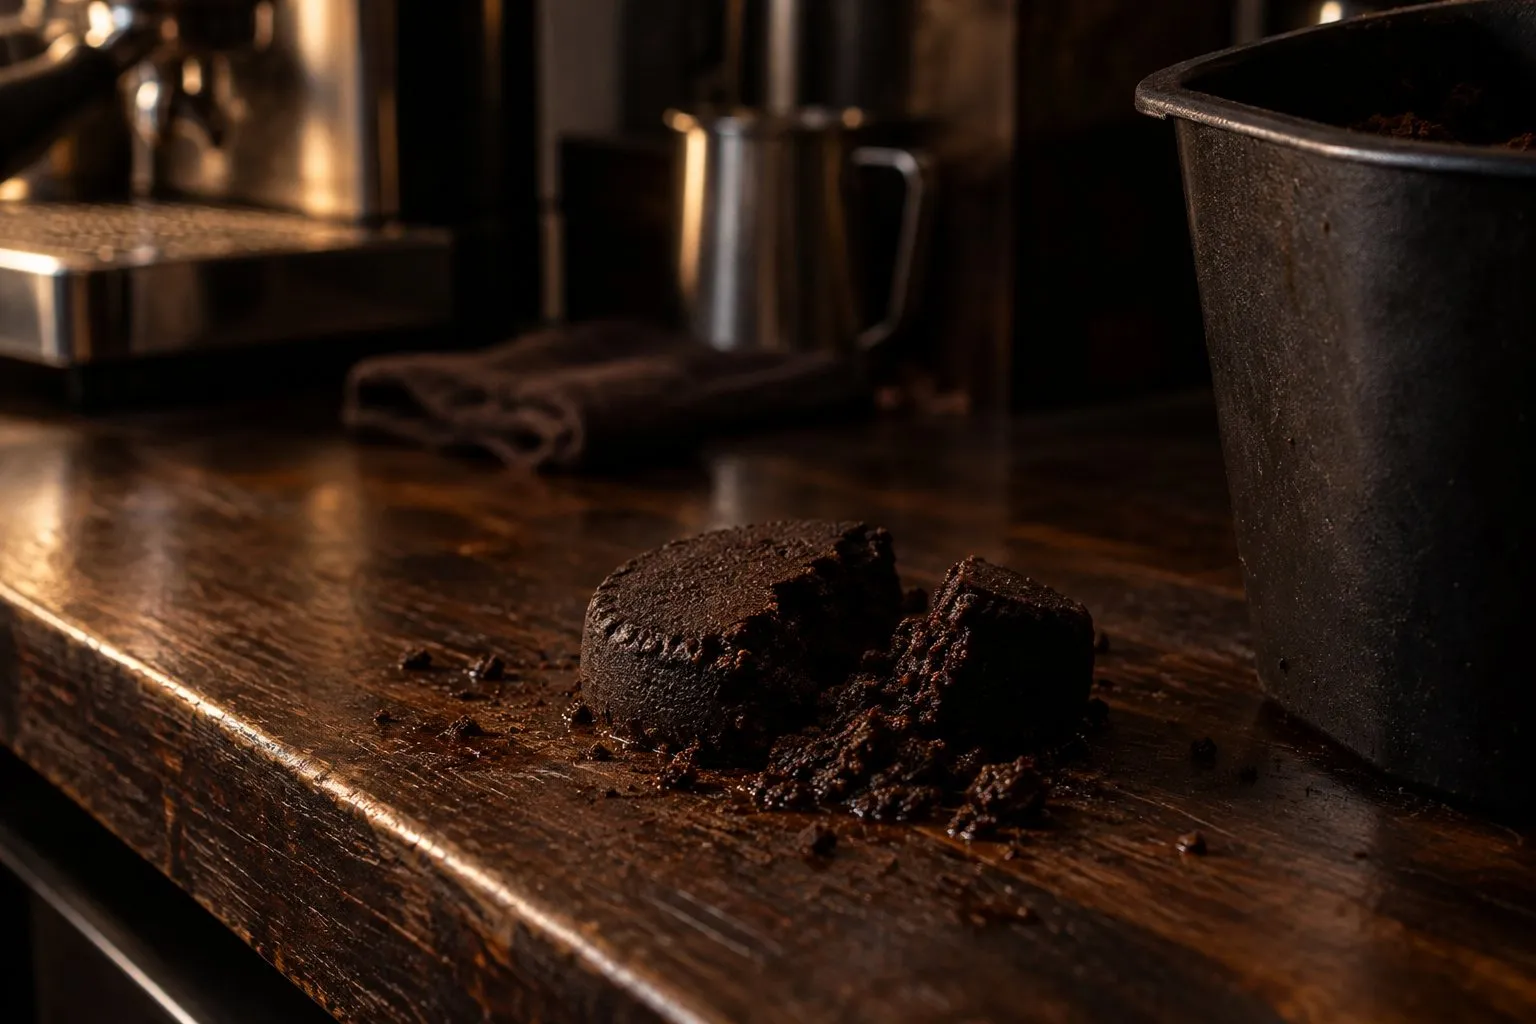
Take the portafilter out slowly, knock out the puck, rinse the basket and flush the group.
The numbers behind the steps
This recipe is one good place to start. 1:2 in 25 to 30 seconds comes from Breville's guide. It's a good first recipe, not a standard. Italy's certified espresso is 7 g to 25 ml, in 25 seconds give or take 5, with water of about 190 °F (88 °C) at about 9 bar. Same word, a much smaller drink.
Choose a dose and read the yield here. The 1:1 and 1:3 ratios in the calculator also come from Breville's guide.
Target in the cup
36 g1.3 oz
Plain arithmetic. The ratios are starting points from Breville's guide, not a standard.
Tamping gets more attention than it deserves. Press until the coffee stops compressing, and keep it level. Force above that adds nothing measurable in the one test we found. Seven Miles Coffee Roasters pulled “a total of 25 shots of espresso at 10, 20 & 30kg”, and saw no difference in extraction time. In the same test, angled tamps gave less consistent flow, visible channeling and poorer taste, so level is what counts.
The bar number is similar. The 15 or 20 bar on the box is what the pump can reach. Espresso is brewed at about 9 bar. Nothing in this routine depends on that number on the box.
Common first-shot mistakes
- Guessing the dose. Without a scale you can't compare one shot with the next, and that's the only way to learn from them.
- Grinding to powder. Breville's booklet warns that water won't flow through a grind that feels like flour, and the shot turns dark and bitter.
- Ignoring the basket size. An 18 g recipe won't suit a basket made for less. Your manual gives the range.
- Pulling cold. Skip the warm-up and the flush, and you've changed the temperature without knowing it.
- Judging by crema. Crema shows CO2, so freshness and roast. It says little about flavor.
- Fixing a fast shot with force. Change the grind first. Breville calls it the first thing to adjust when the timing is off.
After the shot
Empty, rinse, repeat
Knock the puck out, rinse the basket and run a little water through the group. Breville's guide says to clean the machine and grinder regularly, so coffee oils don't build up, including the dispersion screen and the underside of the basket. If the first shot wasn't quite right, go to how to dial in espresso and change one thing at a time.
Making a latte or a flat white? Pull the shot as above, then read how to steam milk. If your shot keeps coming out sharp, why espresso turns sour goes through the causes.
Still looking for a machine?
Our guide for beginners sets out what to buy first and in which order, including budget options. For most people starting out, we recommend a small machine and a separate grinder.
Breville Bambino
A compact machine with a 54 mm portafilter, ready in 3 seconds. The grinder is yours to choose.
Why here: A small first machine with a 3 second start and a maker that documents its specs, and the grinder stays your choice.
Best for: Beginners who want to pick their grinder and upgrade it later
- Ready to start in 3 seconds (Breville)
- 54 mm portafilter, 18 g dose (Breville)
- Manual steam wand for hand-textured milk (Breville)
- Needs a separate espresso-capable grinder
- Breville's product page does not mention PID, though its BES450 instruction book does
- Heating
- ThermoJet
- Pump, as stated
- 15 bar
- Brew pressure, as stated
- 9 bar
- Portafilter
- 54 mm
- PID
- Yes, per the instruction book
- Built-in grinder
- No
- Milk
- Manual wand
- Price class
- Mid-range
We compare by spec sheet and published sources, and do not test machines ourselves. How we compare explains what that means.
Asked at the bar
How do you make espresso without a machine?
You can make strong coffee with a moka pot or AeroPress, but it is not espresso as Italy's certification defines it, which calls for water at about 9 bar. This page is about pump machines. If you are deciding whether to buy one, our guide for beginners sets out what to buy first and in which order.
How much coffee do I need for one espresso?
Breville's guide calls 18 to 22 g a safe start. Italy's certified espresso uses 7 g for 25 ml in the cup. Your basket sets the practical limit: Breville designs the Bambino Plus 2 cup basket for 16 to 19 g, and other machines differ, so read the range in your manual and stay within it.
Can I use pre-ground coffee?
Yes, with a dual wall basket if your machine has one. Breville's Barista Express manual says dual wall baskets are for pre-ground coffee and regulate the pressure, and single wall baskets are for freshly ground beans. Pre-ground coffee can't be adjusted, so you lose the grind as your main control. Freshly ground is the route this page assumes.
How long should an espresso shot take?
Aim for 25 to 30 seconds, timed from the start of the brew cycle, which is Breville's guidance. It adds that a good shot can fall anywhere from 20 to 40 seconds. Italy's certified espresso is 25 seconds, give or take 5. So treat the clock as a readout and let the taste decide what counts as good.
Where this comes from
- Breville: how to dial in espresso
- INEI: Certified Italian Espresso leaflet (copy on a third-party server)
- Breville: BES500 instruction booklet, US edition 2020
- Seven Miles Coffee Roasters: tamping test
- Gaggia: Classic Evo (RI9481) operating instructions, copy on a third-party server
- Breville: Barista Express instruction book (copy hosted by Williams-Sonoma)
Next round
 Dial in espressoHow to dial in espresso: fix the dose, set a yield, then change only the grind until time and taste line up. Steps, a symptom table and the exception to the rule.
 For beginnersThe beginner espresso machine to buy first, and in which order: machine, espresso-capable grinder, scale. Our pick is the Breville Bambino, with budget options.
- Espresso grindersWhat makes a grinder suitable for espresso: burrs, small steps and clean dosing. One clear pick, the alternatives sorted by routine, and honest notes on the data.
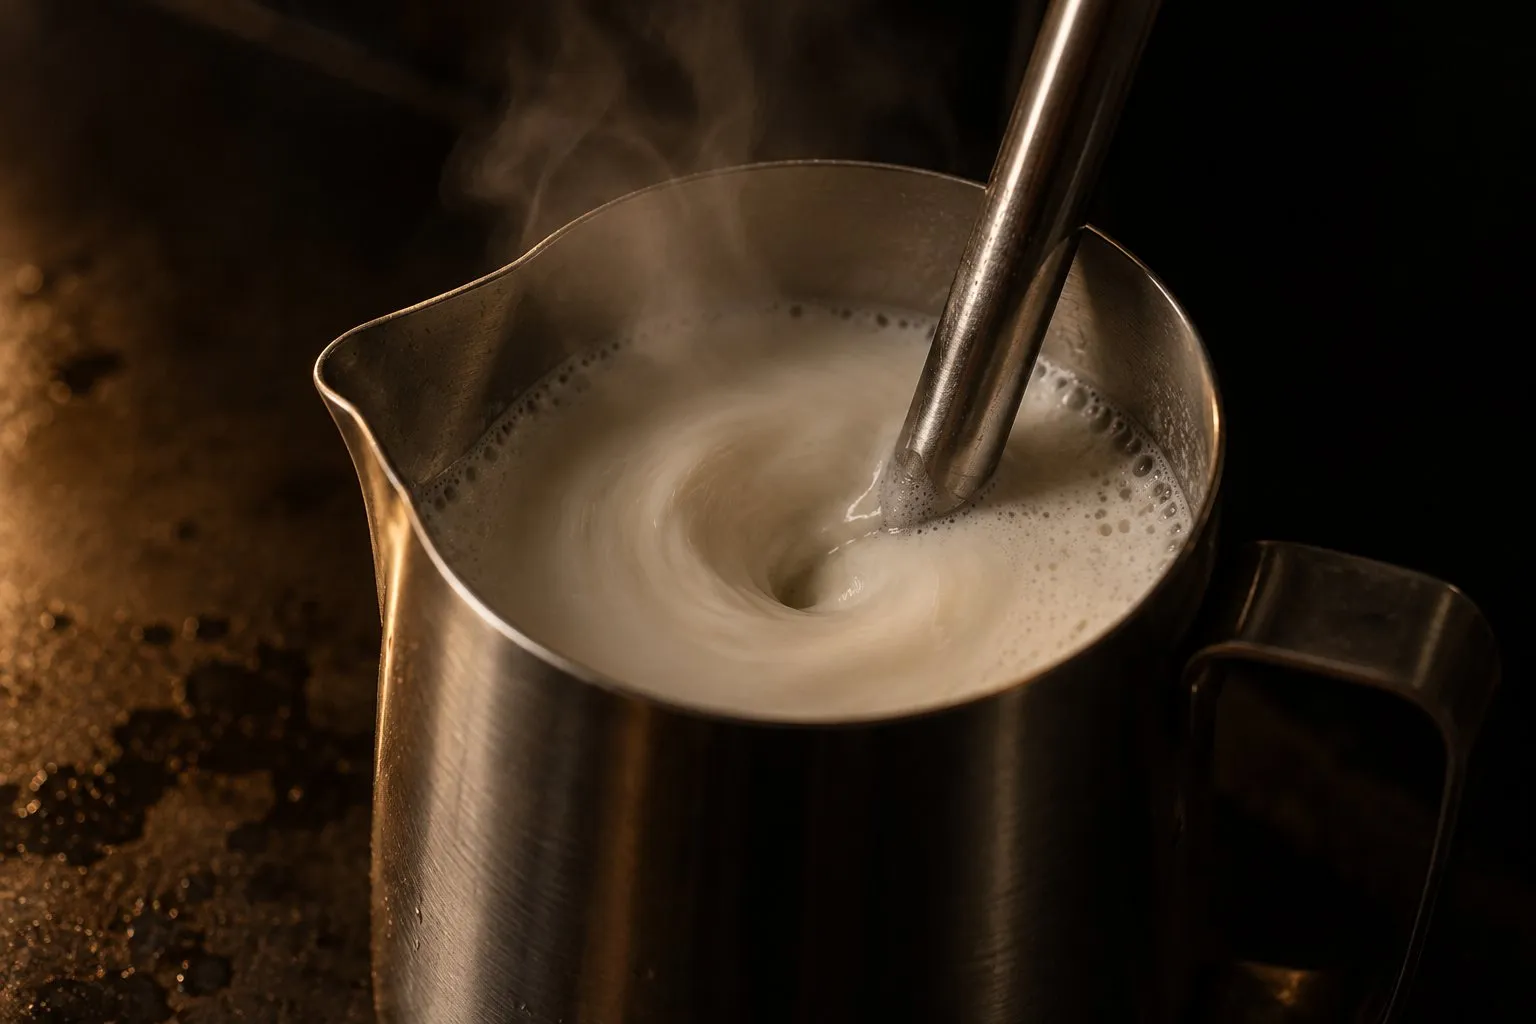 Steam milkHow to steam milk at home: purge, stretch 5 to 10 seconds, spin, stop near 140 to 145 °F. Steps, the temperatures sources disagree on, and fixes for big bubbles.
- Espresso scaleWhat an espresso scale needs: 0.1 g steps, a timer and a size that fits your drip tray. Listed options, plus Acaia and Timemore dimensions from their own data.
semiautomaticespressomachine.com Editorial Team
Espresso gear & shot craft
We are the editorial team at semiautomaticespressomachine.com. We read maker spec sheets, manuals, standards and published research on espresso and turn them into plain-English buying advice, with sources on every page. We do not run lab tests, and we say so openly.
- Spec sheets & standards read
- Sources on every page
- No lab tests – stated openly
- Publisher details in the imprint