WDT Tools: What They Do and Which Needle Sizes Matter
A WDT tool is a set of thin needles you stir through your grounds to break up clumps before you tamp. Buy one when fine grinds clump, not on day one. Go for thin needles: the one experiment we found preferred 0.4 mm to 0.7 mm. Beyond that, we found nothing showing that a needle count or a nicer handle matters.
Disclosure: This page contains affiliate links (marked with *). If you buy through them, we earn a small commission at no extra cost to you. As an Amazon Associate I earn from qualifying purchases. Learn more
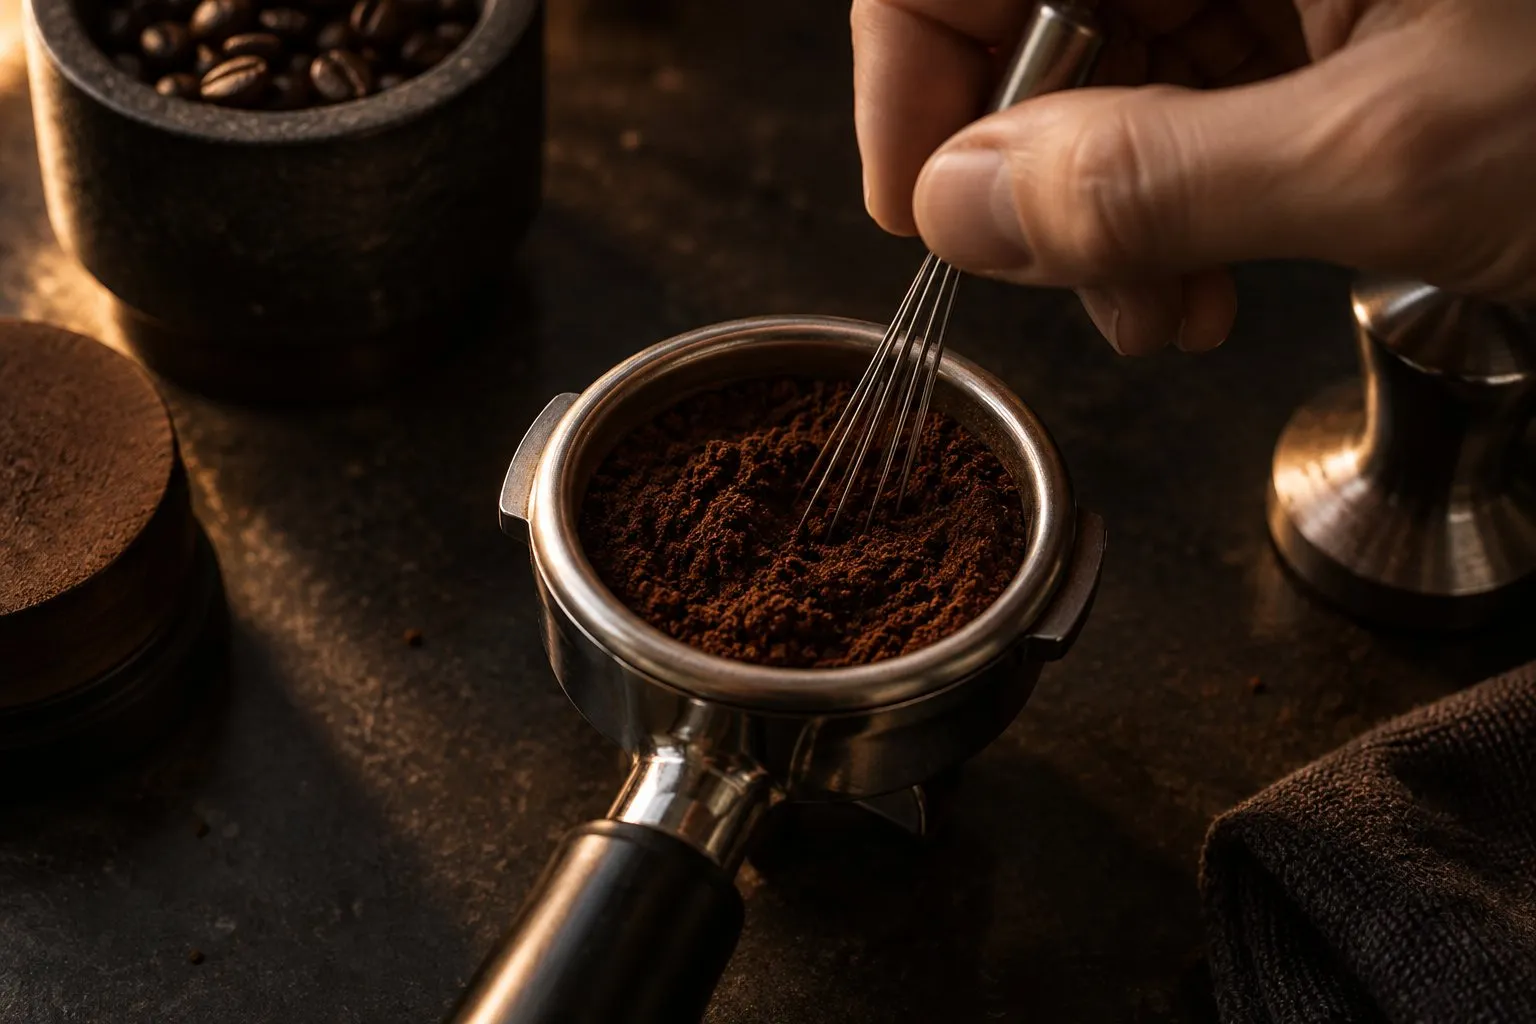
A WDT tool breaks up clumps and evens out your grounds before you tamp, which aims at uneven flow at fine grinds. It's cheap, so try one when your grinder clumps. Choose needles of about 0.4 mm or thinner, and stir the full depth of the basket. We found one small experiment on it, and no peer-reviewed study of WDT itself.
On this page
This is one of the cheapest experiments in home espresso, and also one of the most talked about. The evidence is thinner than the enthusiasm. For the tools below we only have the Amazon listings, so we name them as options and make none of them a pick. Our recommendation is about what to look for.
7-needle WDT tool
Thin needles to stir out clumps before you tamp.
Seller data only: We only have the Amazon listing for this product. We list it as an option, not as a recommendation.
Why here: Listed with 0.35 mm needles and spares in the budget class, which covers what the one experiment we found points to.
Best for: Fine grinds that clump, whatever the basket size
- 7 needles of 0.35 mm plus spares, per listing title
- We only have the listing
- Type
- WDT tool
- Price class
- Budget
What a WDT tool does
WDT stands for Weiss Distribution Technique, named after John Weiss. According to Daily Coffee News, he posted it in December 2005, using a single dissecting needle to deal with clumps from his grinder and uneven grounds in the basket. Modern tools use several acupuncture or similar needles, roughly 0.1 to 0.5 mm thick.
The idea is simple. Water looks for the easy path through a coffee bed. If the bed has dense clumps and loose pockets, some coffee gets too much water and some too little. Cameron and colleagues (2020) link falling extraction at very fine grinds to uneven flow, and that's the problem WDT aims at. We read only that paper's abstract, and it isn't about WDT. Breville's dial-in guide makes the general point that evenly packed grounds matter, without naming any stirring tool.
When it's worth trying
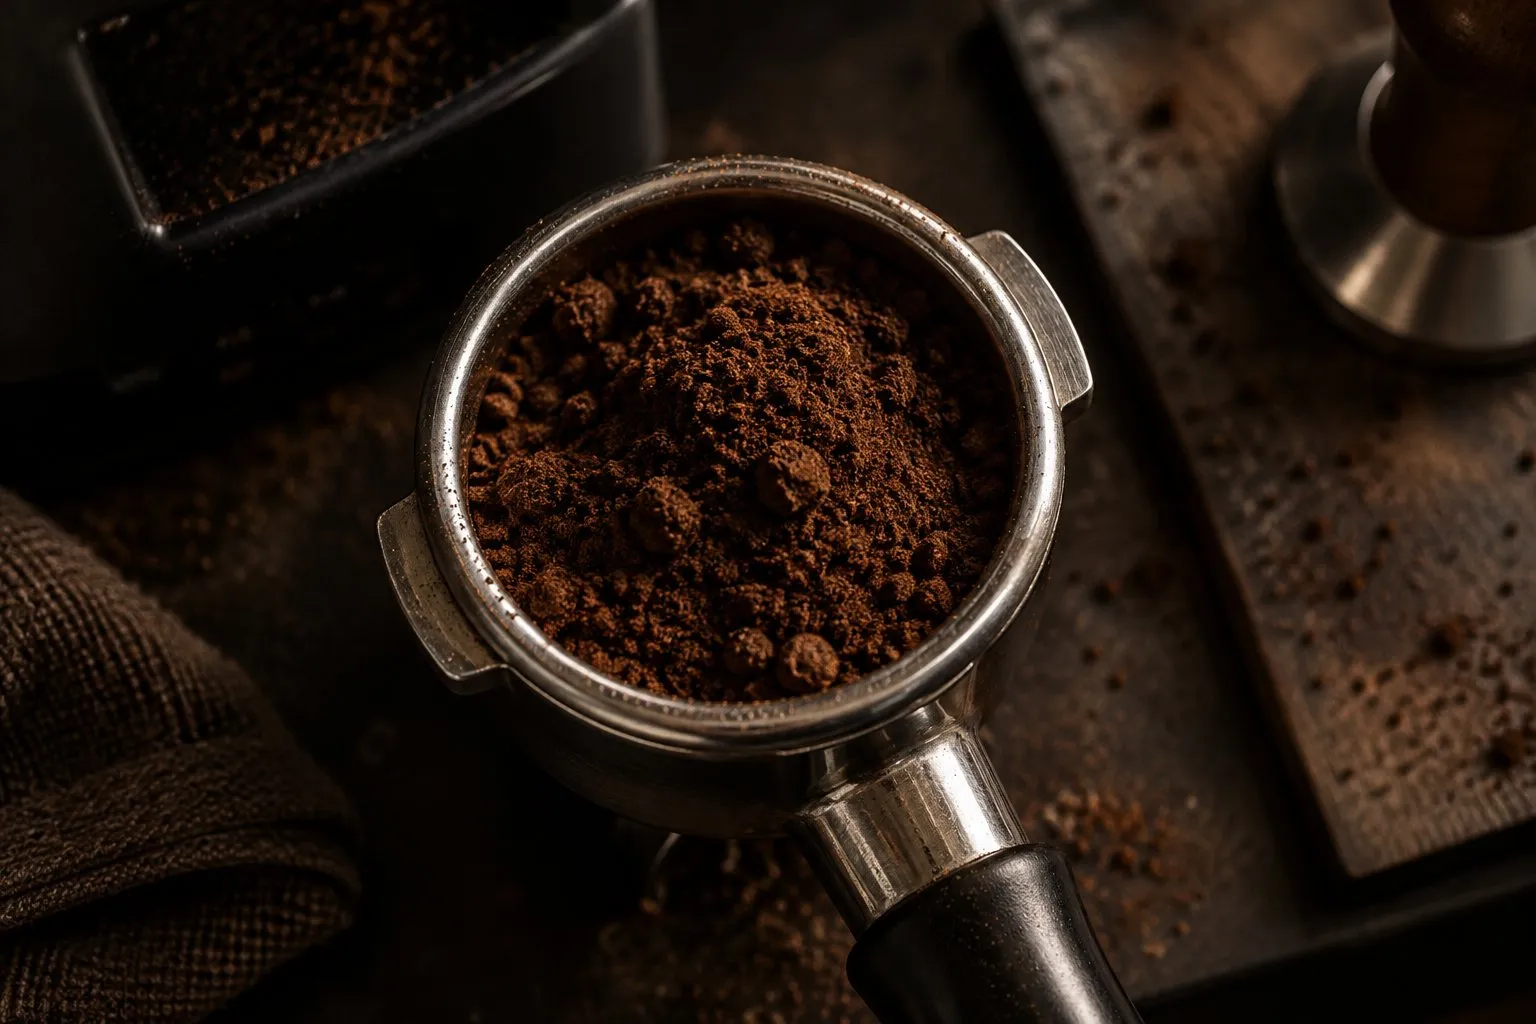
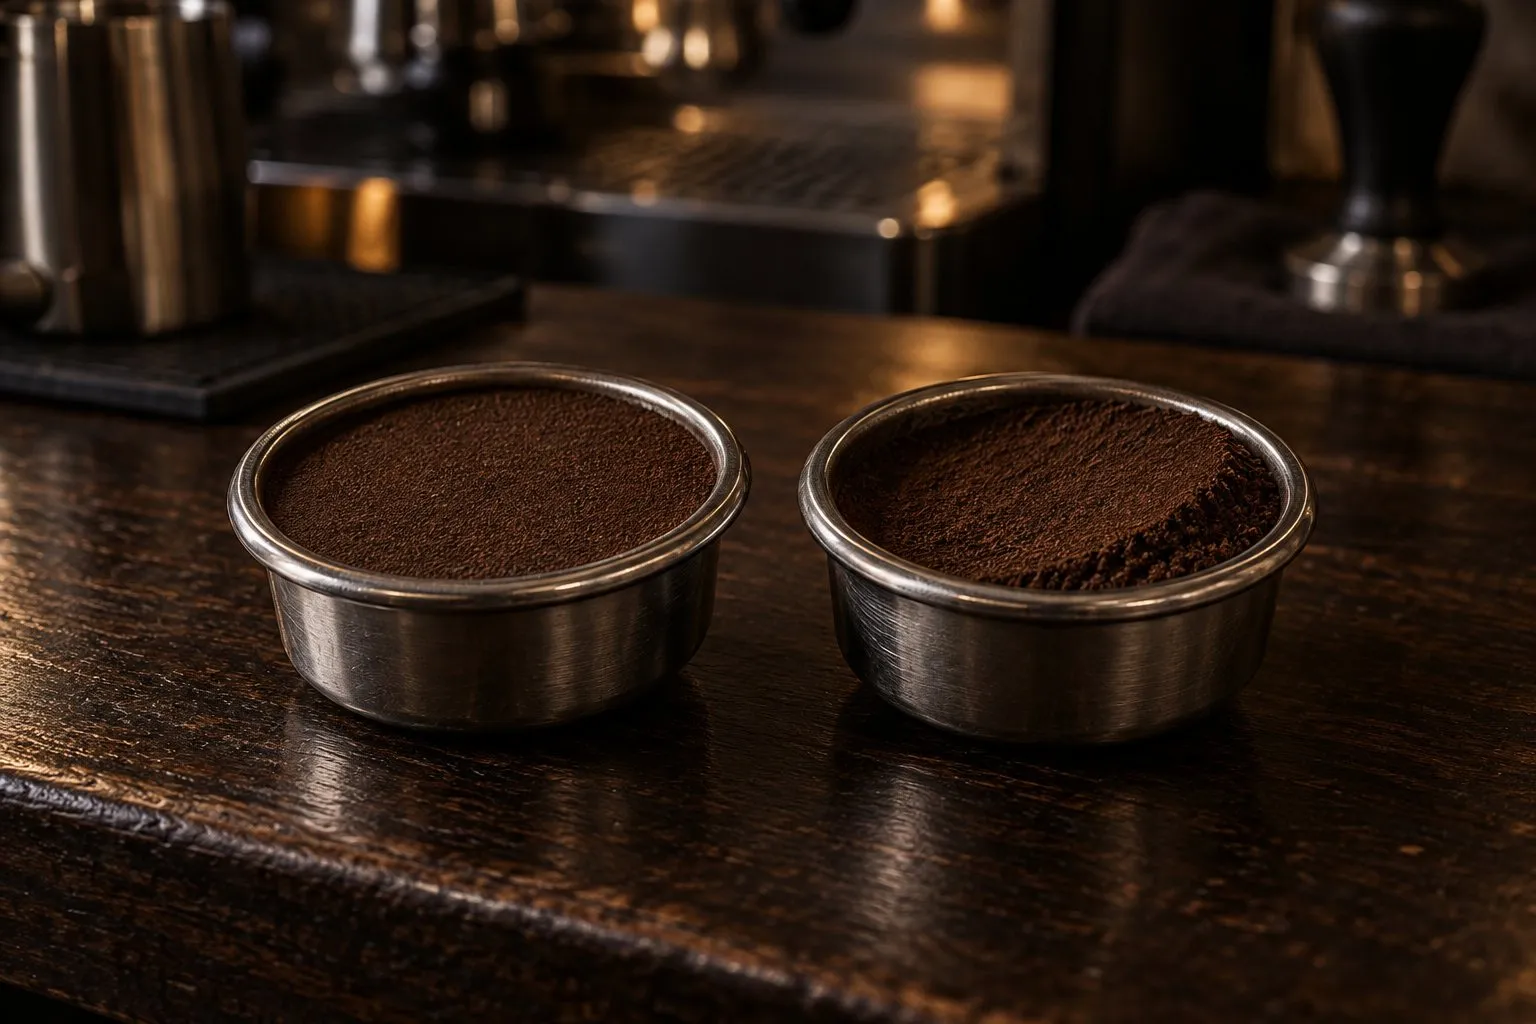
Look at your dose in the basket. If you see clumps like these, or your shots spurt or run unevenly on a fine grind, stirring is a cheap thing to try. If your grounds fall loose and your shots run even, you may have little to gain. WDT is one step in puck prep, and your grinder matters more: no needle fixes a grinder that can't go fine enough.
What we actually know
We found one published experiment that compares needle sizes. It's a June 2020 write-up by Stéphane Ribes, now hosted by Decent Espresso, using a high-end setup and measured extraction.
- Thin beat thick. Full-depth stirring with 0.4 mm needles beat 0.7 mm needles, with smoother distribution and no macro-channels, according to the write-up. The text gives no numbers for that comparison.
- Depth and a gentle tap. Deep stirring with 0.4 mm needles plus gentle vertical taps gave the most consistent results.
- Skipping it isn't fatal. Shots with no distribution sometimes tasted good and extracted well. They were just less consistent.
- Looks can mislead. An even-looking flow didn't reliably predict extraction or taste.
Keep this in proportion. It's one person's work on two test dates, with no stated number of shots per variant, on a machine and grinder that are not typical of home setups. Decent also sells accessories, though the write-up used other makers' parts. It's useful, but it's no standard, and we found no peer-reviewed study of WDT itself.
We found nothing that compares 5, 7 or 10 needles, or anything thinner than 0.4 mm. So when a listing claims its needle count is better, ask where the data is.
The tools side by side
| Seller data only7-needle WDT tool | Seller data onlyZolunu 5-needle WDT tool | Seller data only10-needle WDT tool with brush | Seller data onlyMagnetic WDT tool | Seller data onlyMATOW 53 mm distributor | |
|---|---|---|---|---|---|
| Type | WDT tool | WDT tool, 5 needles of 0.4 mm, per listing | WDT tool, 10 needles of 0.35 mm, per listing | WDT tool, magnetic, per listing | Distributor and tamper |
| Fits | – | – | – | – | 53 mm head for 54 mm Breville, per listing |
| Price class | Budget | Budget | Budget | Budget | Budget |
| Best for | Fine grinds that clump, whatever the basket size | A low-priced first try at stirring your grounds | People who want the brush and the needles in one handle | Breville owners who want the tool to stay within reach, after checking the listing's needle details | 54 mm Breville owners who want an even top surface and an adjustable tamper in one tool |
| On Amazon(paid link to Amazon, opens in a new tab)Ad · paid link · check price & delivery on Amazon | On Amazon(paid link to Amazon, opens in a new tab)Ad · paid link · check price & delivery on Amazon | On Amazon(paid link to Amazon, opens in a new tab)Ad · paid link · check price & delivery on Amazon | On Amazon(paid link to Amazon, opens in a new tab)Ad · paid link · check price & delivery on Amazon | On Amazon(paid link to Amazon, opens in a new tab)Ad · paid link · check price & delivery on Amazon |
All of these are listing data. We haven't handled any of them. How we compare explains what “Seller data only” means.
Who should buy which?
If you want 0.35 mm needles and spares → 7-needle WDT tool · Seller data only
View(paid link to Amazon, opens in a new tab)Ad · paid link · check price & delivery on AmazonIf you just want the lowest-effort first try → Zolunu 5-needle WDT tool · Seller data only
View(paid link to Amazon, opens in a new tab)Ad · paid link · check price & delivery on AmazonIf you want more needles and a brush in one handle → 10-needle WDT tool with brush · Seller data only
View(paid link to Amazon, opens in a new tab)Ad · paid link · check price & delivery on AmazonIf you own a Breville and want the tool to stay within reach → Magnetic WDT tool · Seller data only
View(paid link to Amazon, opens in a new tab)Ad · paid link · check price & delivery on AmazonIf you want a flat top surface on a 54 mm Breville basket → MATOW 53 mm distributor · Seller data only
View(paid link to Amazon, opens in a new tab)Ad · paid link · check price & delivery on Amazon
The options, one by one
7-needle tool with spares
The 7-needle tool* is listed with 0.35 mm needles and 7 replacements. That's under the 0.4 mm that did well in the experiment, and spares are useful if a needle bends. It's the option we would look at first, purely on the listing.
Zolunu 5-needle tool
The Zolunu* has 5 needles of 0.4 mm, a walnut handle and a stand, per its title. That needle size is the one the experiment actually used. It's a low-priced way to find out whether stirring does anything for your shots.
10-needle tool with brush
The 10-needle tool* is listed with 0.35 mm needles, 10 spares and a built-in cleaning brush. The brush may be handy. Nothing we read shows that 10 needles do more than 5.
Magnetic tool for Breville
The magnetic tool* is sold for Breville machines. Its title gives no needle size or count, so look for those before you buy.
MATOW 53 mm distributor: a different tool
The MATOW* combines a leveling head and a tamper with adjustable depth, per its title, and is listed for 54 mm Breville portafilters. This kind of tool works from the top, so it can flatten the surface but can't reach a clump at the bottom of the basket. It may still suit you for a neat, repeatable surface. Don't buy it as a replacement for needles without reason, and read up on fit: labels and baskets don't always agree, as our page on espresso tampers explains.
How to use one
Dose into the basket
Weigh your dose and grind into the portafilter. A funnel keeps grounds off the counter while you stir.Stir the full depth
Push the needles down to the bottom of the basket and stir through the whole bed, edges included. The experiment above stirred full depth, and surface raking was a separate variant.Tap gently
Tap the portafilter gently, straight down, so the bed settles. The most consistent shots in that experiment used gentle vertical taps.Tamp
Press until the coffee stops compressing, and keep it level. Force above that adds nothing measurable in the one test we found.
What to look for
- Thin needles. About 0.4 mm or under, on what little evidence exists.
- Needles long enough. They have to reach the bottom of your basket, since full depth is what the experiment stirred. Compare with your basket before you buy.
- Spares. Thin needles can bend.
- A handle you like. That's about comfort, and it won't change your shot.
Mistakes to avoid
- Buying it before the grinder. Sort out your grinder and a scale first.
- Stirring only the top. That's a surface tidy-up.
- Judging by a pretty flow. Taste the shot, and weigh it.
- Changing two things at once. Add WDT, keep the recipe the same, then compare. Our dial-in guide has the routine.
Find your machine
Still putting the whole setup together? These four questions end in one machine.
Our recommendation
Try one when fine grinds clump. Buy a low-priced tool with needles around 0.35 to 0.4 mm, stir the full depth and tap gently. Then taste whether it does anything for your setup, which is the only test that counts here. If not, you've lost very little. See the accessories guide for what to buy before and after, and the guide to choosing a machine if you are just starting.
A puck screen is a separate tool: our puck screen page has the two small measurements.
Asked at the bar
Do I need a WDT tool?
Not on day one. If your grounds come out loose and your shots run even, you may not notice a difference. If you see clumps, or get uneven flow on a fine grind, it's a cheap thing to try. One small experiment found that skipping distribution could still produce tasty shots, just less consistently. Fix your grinder and dose first.
What needle size is best for a WDT tool?
Thin needles, around 0.4 mm or less, are the safe choice. A 2020 experiment published by Decent Espresso preferred 0.4 mm needles to 0.7 mm ones, reporting smoother distribution and no macro-channels. It doesn't give numbers for that comparison, and it didn't test anything thinner. Modern tools range from about 0.1 to 0.5 mm, according to Daily Coffee News.
What is the difference between a WDT tool and an espresso distributor?
A WDT tool stirs through the full depth of the bed with needles. A distributor, or leveler, is a flat tool you spin over the top of the grounds, so it tidies the surface. We found no neutral test comparing the two. Some people use both. A distributor also has to fit your basket closely, so check the size first.
Who invented WDT?
John Weiss, a home espresso enthusiast and retired computer science professor, according to Daily Coffee News. He first shared the technique in December 2005 on a CoffeeGeek message board, and then on Home-Barista later that month. His original tool was a single dissecting needle, used with a cut-down yogurt cup as a funnel. WDT stands for Weiss Distribution Technique.
Where this comes from
Next round
- AccessoriesWhich espresso accessories are worth buying first: scale, tamper, pitcher, WDT tool and more, sorted by portafilter size, with what your machine already includes.
- Puck prepEspresso puck prep in six steps: dry, weigh, stir, settle, tamp level, lock in. What channeling is, which tools have evidence, and what a wet puck means.
 Dial in espressoHow to dial in espresso: fix the dose, set a yield, then change only the grind until time and taste line up. Steps, a symptom table and the exception to the rule.
- TampersWhich espresso tamper fits your machine: 51, 53.3, 54 and 58 mm by model, what calibrated and spring-loaded tampers really do, and where the 30 lb figure comes from.
 Espresso grindersWhat makes a grinder suitable for espresso: burrs, small steps and clean dosing. One clear pick, the alternatives sorted by routine, and honest notes on the data.
semiautomaticespressomachine.com Editorial Team
Espresso gear & shot craft
We are the editorial team at semiautomaticespressomachine.com. We read maker spec sheets, manuals, standards and published research on espresso and turn them into plain-English buying advice, with sources on every page. We do not run lab tests, and we say so openly.
- Spec sheets & standards read
- Sources on every page
- No lab tests – stated openly
- Publisher details in the imprint