Puck Prep Step by Step: Dose, WDT, Level, Tamp, Screen, and What a Wet Puck Means
Good puck prep gives the water no easy path. Dry the basket, weigh the dose, break up clumps, settle it, and press until the coffee stops compressing, keeping it level. A wet puck after the shot is not a verdict by itself, so judge by flow and taste.
Disclosure: This page contains affiliate links (marked with *). If you buy through them, we earn a small commission at no extra cost to you. As an Amazon Associate I earn from qualifying purchases. Learn more
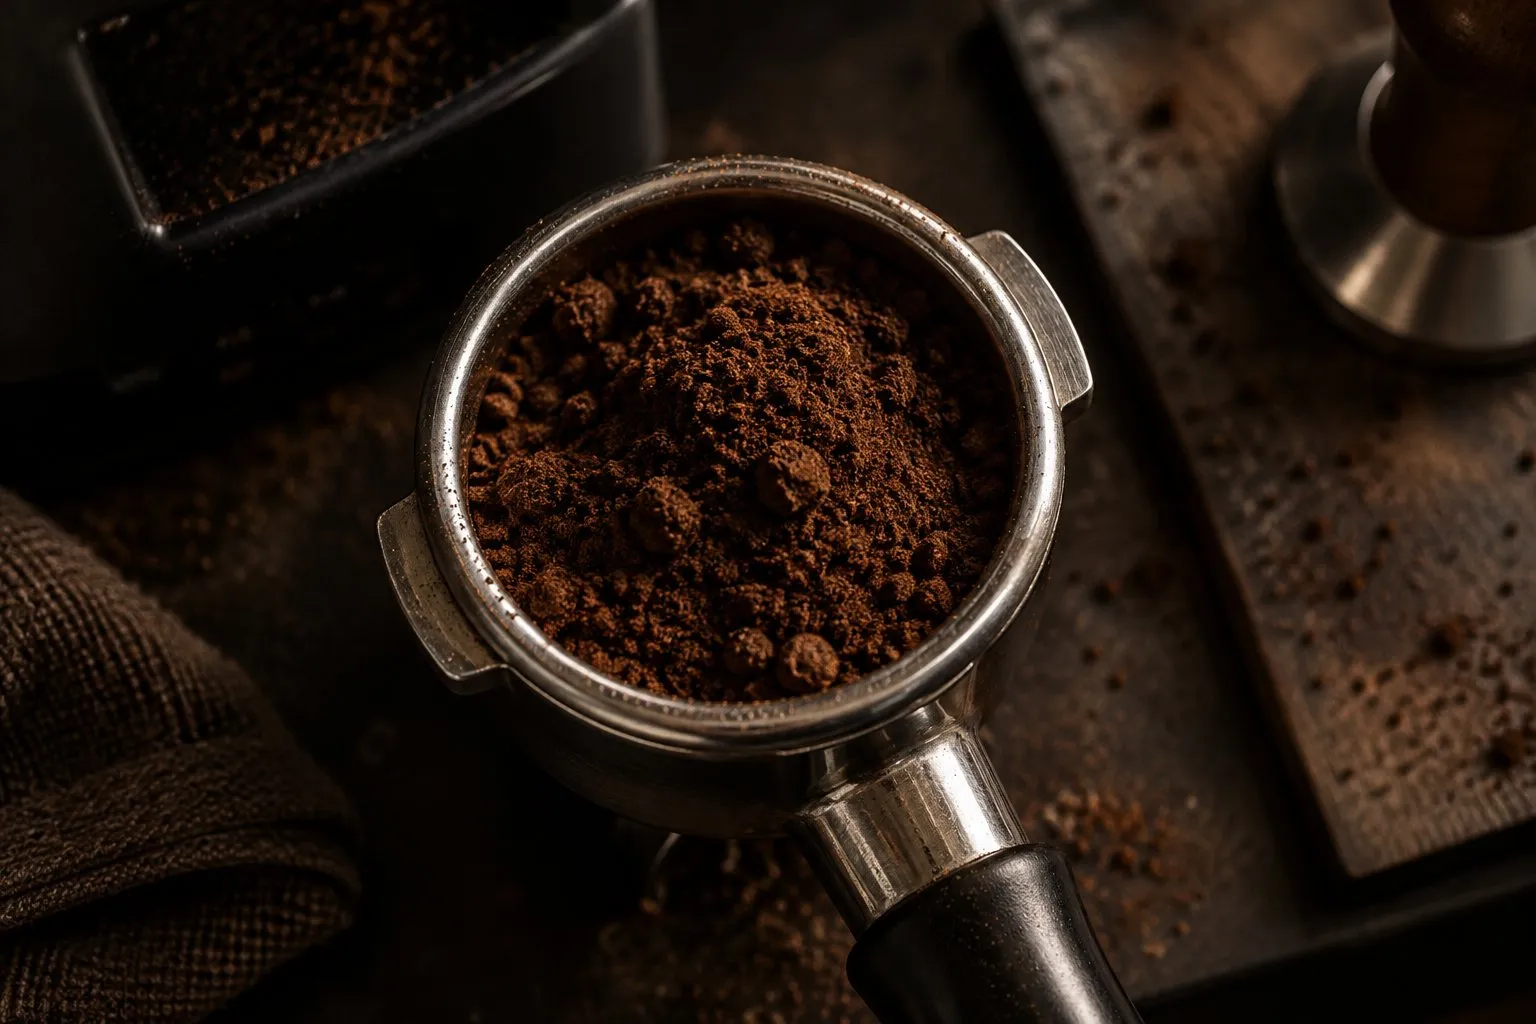
Dry the basket, weigh your dose, stir out clumps if your grinder makes them, tap to settle, then press until the coffee stops compressing and keep it level. Do it the same way every time. A wet puck can point to under-extraction, but it also depends on the machine, so check flow and taste before you change anything.
On this page
What you get: the same puck every morning, so that a change in the cup comes from a change you made. What it takes: a scale and a tamper, plus a few extra motions per shot. A WDT tool is a cheap option, and the rest is habit. Puck prep has picked up a lot of gadgets, so this page also says what each step has behind it. If your problem is the recipe itself, start with how to dial in espresso.
Why the puck matters
Water takes the easiest route. If part of the bed is looser or thinner, more water goes through there and less through the rest. Breville calls this channeling, where water bypasses the coffee. Cameron and colleagues (Matter, 2020) link uneven flow to poor reproducibility and wasted coffee, at very fine settings in particular. We read only their abstract. Seven Miles Coffee Roasters found that tamping mainly removes air pockets so water spreads evenly through the bed.
So the goal is simple: an even bed, built the same way each time.
The routine
Dry the basket
Wipe the portafilter and basket dry. Breville warns that moisture can encourage channeling.Weigh the dose
Grind into the basket or a dosing cup and weigh it. Keep the dose fixed for the session, because a change of a gram shifts both the ratio and the flow.Stir out the clumps
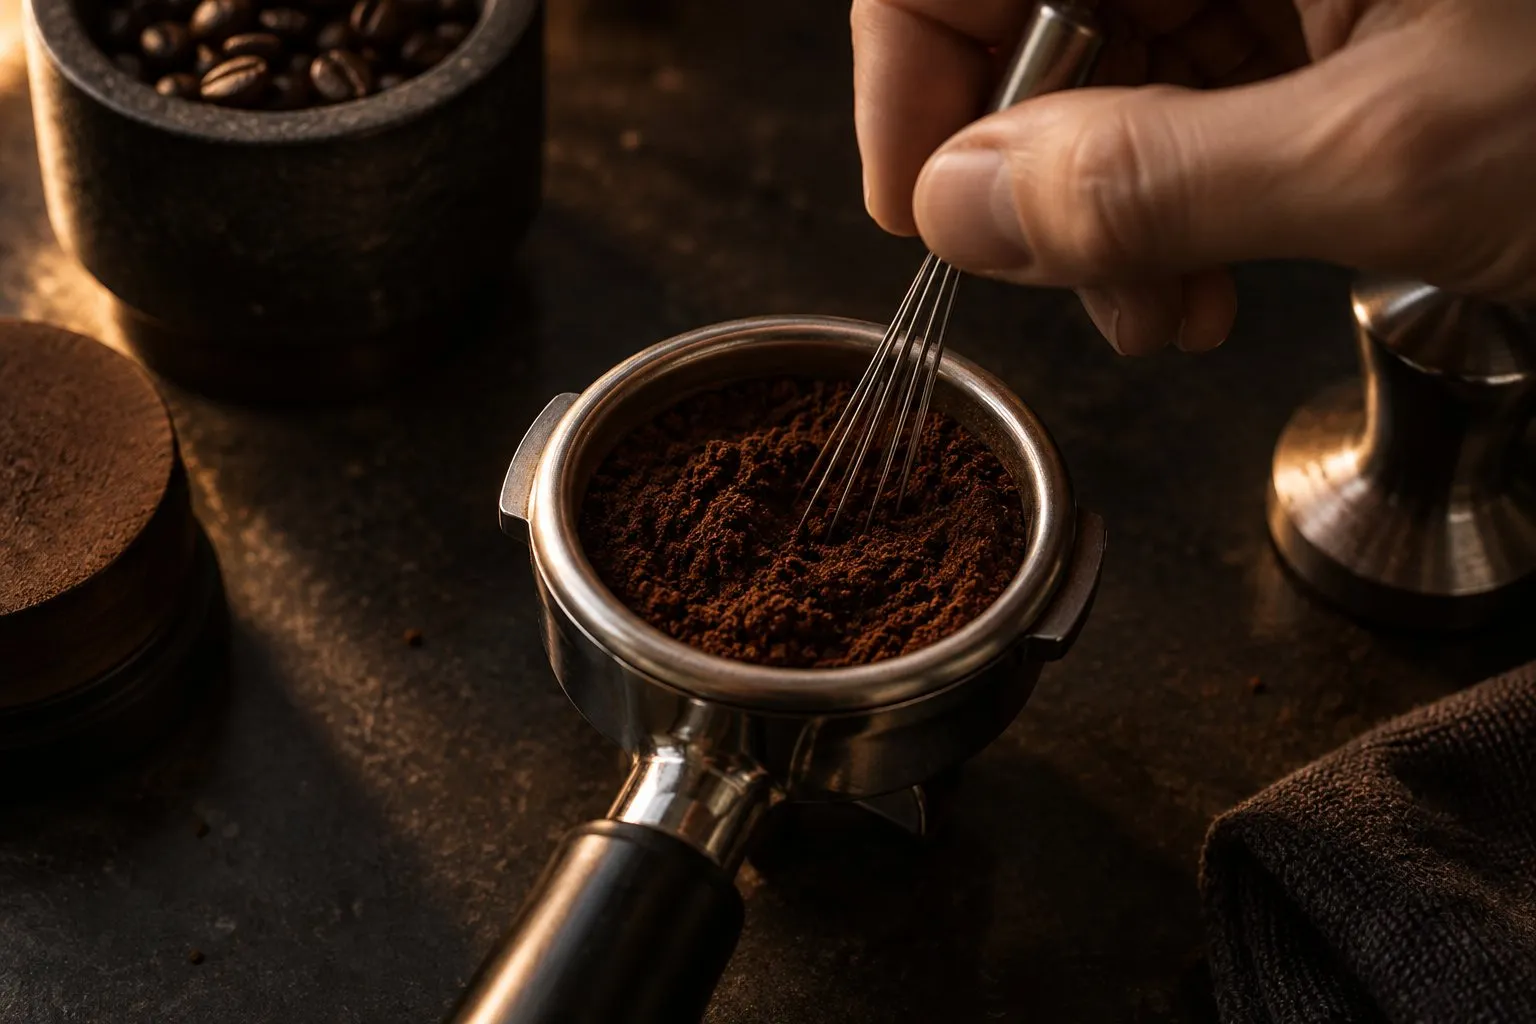
If you can see clumps, stir through the full depth of the bed with a thin-needle WDT tool. This step is optional. See below for what is known about it.Settle and level
Tap the portafilter so the coffee collapses and spreads evenly, as Breville's book describes. Look at the surface from above and fix any slope before you tamp.Tamp level
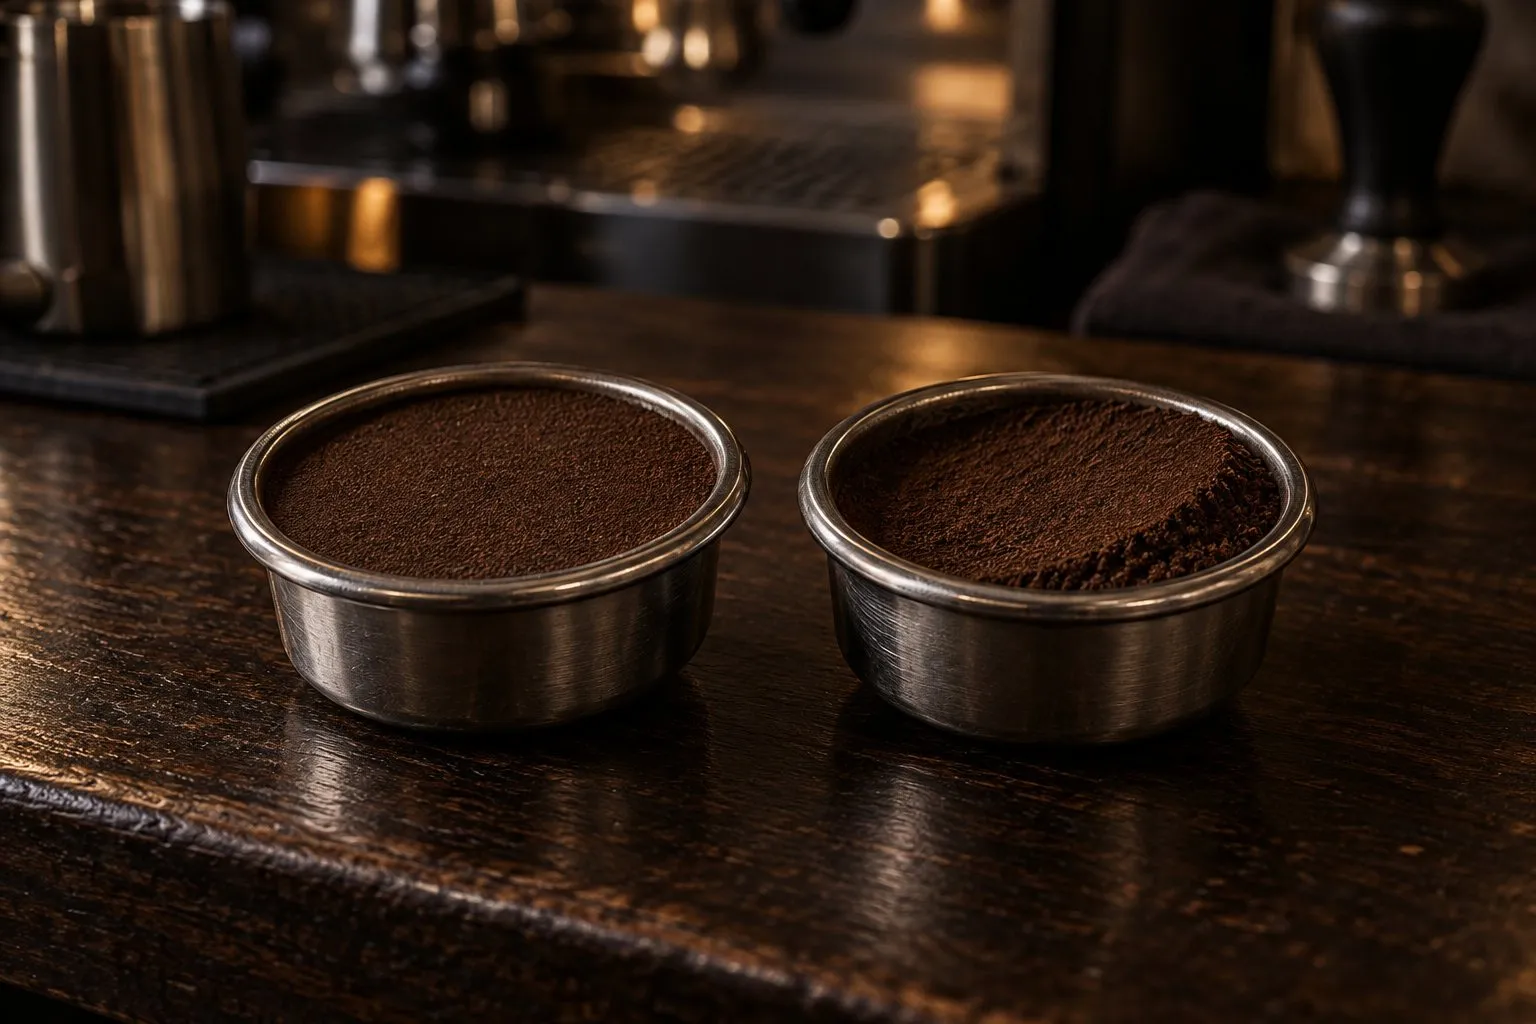
Press until the coffee stops compressing, and keep it level. Force above that adds nothing measurable in the one test we found. Breville's book makes a related point: consistency matters more than the amount of pressure. After tamping, the cap of the tamper should sit level with the top of the basket on Breville's machines. Our page on espresso tampers covers sizes.Clean the rim and lock in
Wipe stray grounds off the rim, because Breville lists them as a cause of leaks at the edge. Run a short flow through the group head, lock in the portafilter and start the shot.
What each step has behind it
| Step | Evidence we found | Our take |
|---|---|---|
| Weigh the dose | Breville's guide starts from a weighed dose | Do it, always |
| Keep it level | Seven Miles: tamps angled at 10° and 20° gave less consistent flow, signs of channeling and worse taste, and 20° was worse | Do it, always |
| Press harder | Seven Miles: a total of 25 shots at 10, 20 and 30 kg, no difference in extraction | Stop when the coffee stops compressing |
| Stir with needles | Reasoned from experience, no controlled study found | Worth trying if you see clumps |
| Puck screen | Two small unreviewed measurements, Ribes 2021 and Nucleus 2022 | Optional |
What WDT is, and how much is known
WDT stands for Weiss Distribution Technique. Daily Coffee News traces it to John Weiss, who shared it on a message board in December 2005, after channeling problems convinced him that distribution was critical. He used a single dissecting needle. Today's tools use several needles, 0.1 to 0.5 mm thin. The article cites no controlled data and notes that the best pattern and depth are still debated. That leaves it as sensible practice without proof.
A puck screen is a thin metal disc that sits on top of the tamped coffee. Two small measurements exist, neither peer reviewed: Ribes (2021) saw more even extraction with a higher extraction yield, and Nucleus (2022) saw no real change in it but more balance in a blind tasting. Our puck screen page sets them side by side. We don't count it as part of the routine. If you want to try one, the 58 mm screens* we list are that size per the listing, so they fit only 58 mm baskets. Buy by your basket, and change nothing else while you find out.
What a wet puck means
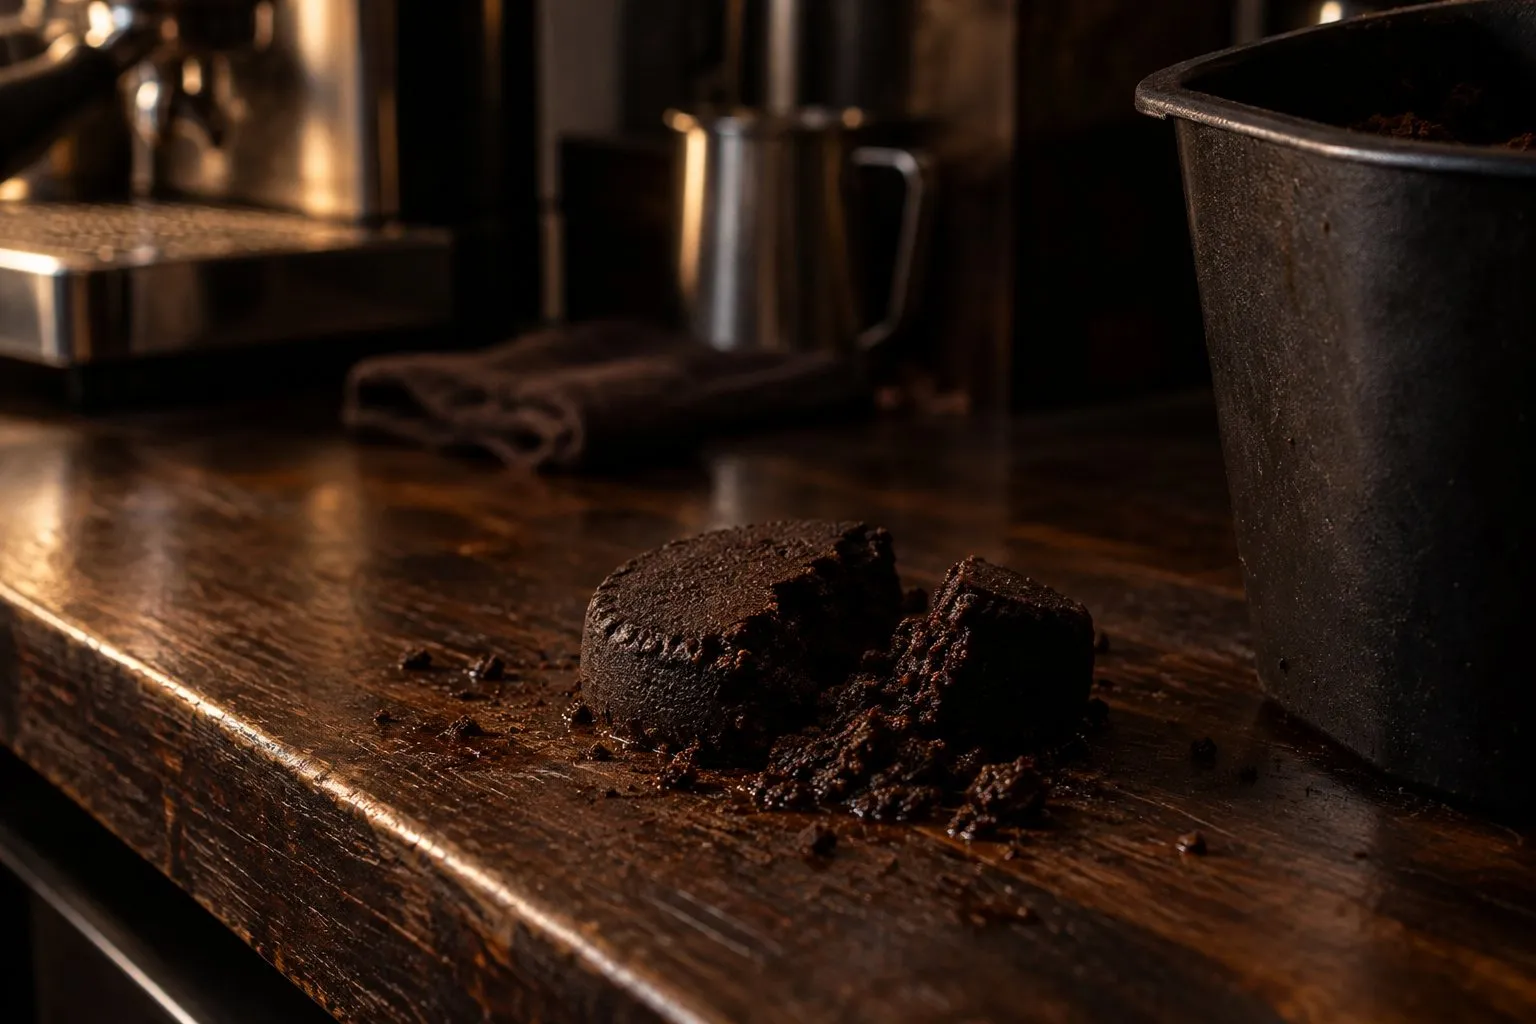
Wet pucks cause more worry than they should, because the answer depends on your machine.
- On a Breville Bambino, the instruction book says that if the puck is wet, you should turn to its under-extraction section: check the grind, dose and tamp.
- On a Barista Express, Breville lists a dry puck feature that releases water pressure from the coffee in the basket, for easy disposal. So part of that dry puck comes from the machine, not from your technique.
- On a Gaggia Classic Pro, retailers list a three-way solenoid, the valve that vents pressure after the shot. Our Gaggia page has the details.
Our reading is that the same puck can mean different things on different machines. Check the shot first. If it ran fast and tastes thin, the puck is confirming what you already know, and a sour shot needs a finer grind or a better dose. If the shot tasted fine, a wet puck is only a messier cleanup. We found no study that ties puck wetness to taste.
After the shot
Knock out the puck, rinse the basket and dry it for the next shot. Breville says to keep the basket clean to prevent blockages. A knock box saves you the walk to the trash, and a clean basket also rules out one cause of bitter espresso.
Common mistakes
- Changing two things at once. A new gadget and a new grind in the same morning will teach you nothing.
- Tamping harder to slow a fast shot. Fix that with the grind.
- Reading the puck instead of the cup. A tidy, dry puck says little about flavor.
- Buying the wrong size. Check your basket first. The Normcore V4 tamper*, for example, is 53.3 mm per its listing, so it isn't for a 58 mm basket.
If you buy one puck tool
Buy a scale first if you don't own one. After that, a needle tool is the cheapest thing on this list that addresses a visible problem. Our WDT tool comparison has the alternatives, and how to make espresso puts this routine into the whole shot. The start page sorts machines by what you drink.
7-needle WDT tool
Thin needles to stir out clumps before you tamp.
Seller data only: We only have the Amazon listing for this product. We list it as an option, not as a recommendation.
Why here: Seven thin needles of 0.35 mm plus spares, per its listing, which is all you need to try stirring out clumps.
Best for: Fine grinds that clump, whatever the basket size
- 7 needles of 0.35 mm plus spares, per listing title
- We only have the listing
- Type
- WDT tool
- Price class
- Budget
Asked at the bar
Why is my espresso puck wet after the shot?
It depends on the machine. Breville's Bambino book tells you to treat a wet puck as a sign to check for under-extraction, meaning grind, dose and tamp. The Barista Express, on the other hand, lists a dry puck feature that releases water pressure from the basket. So a wet puck is a clue. Judge it together with flow and taste.
Is a soupy puck bad?
Not by itself. A shot that flowed well and tastes good is a good shot, whatever the puck looks like afterward. If the shot also ran fast and tastes thin or sour, a soupy puck supports what the shot already told you: grind finer, or check your dose. We found no study linking puck wetness to taste.
What is channeling in espresso?
Channeling means water finds an easy path through the coffee and bypasses part of it. Breville names moisture in the basket as one cause, and Seven Miles Coffee Roasters saw clear signs of it with angled tamps and with no tamp at all. Cameron and colleagues also point to uneven flow at very fine grinds.
Do I need a WDT tool?
Only if your dose clumps or your shots vary. WDT breaks up clumps by stirring the grounds with thin needles. John Weiss introduced it in 2005, working from his own trial and error, and we found no controlled study of it. It costs little, so it's a reasonable thing to try if clumps show up.
Do I need a puck screen?
Two small measurements exist, neither peer reviewed. Stéphane Ribes (2021, hosted by Decent) found more even extraction and 2 to 3 points more extraction yield. Nucleus Coffee (2022) found no real change in extraction yield but better balance. So treat it as optional. A screen sits on top of the tamped coffee, and the size has to match your basket. Get the rest of the routine consistent first. If you try one, change nothing else for a few shots, so you can tell what it does.
Where this comes from
- Breville: Bambino BES450 instruction book (US and Canada)
- Breville: Barista Express BES870 instruction book (Australia and New Zealand edition)
- Seven Miles Coffee Roasters: tamping test
- Cameron et al.: Systematically improving espresso (Matter, 2020), abstract only
- Stéphane Ribes, hosted by Decent Espresso: Effects of a puck screen on extraction (2021)
- Nucleus Coffee: Do espresso puck screens make a difference? (2022)
- Daily Coffee News: What is WDT in espresso? An interview with John Weiss (2022)
Next round
 Dial in espressoHow to dial in espresso: fix the dose, set a yield, then change only the grind until time and taste line up. Steps, a symptom table and the exception to the rule.
- WDT toolA WDT tool stirs clumps out of your grounds before you tamp. What it does, what thin needles get you, how it differs from a distributor, and which to buy.
- TampersWhich espresso tamper fits your machine: 51, 53.3, 54 and 58 mm by model, what calibrated and spring-loaded tampers really do, and where the 30 lb figure comes from.
 Make espressoHow to make espresso at home on a semi-automatic machine: warm up, grind, weigh 18 g, tamp level, pull 36 g in about 25 to 30 seconds, then taste and clean up.
- Knock boxWhich espresso knock box to buy: how many pucks you really need, what to check on the bar and the base, when a drawer makes sense, and when a trash can does the job.
semiautomaticespressomachine.com Editorial Team
Espresso gear & shot craft
We are the editorial team at semiautomaticespressomachine.com. We read maker spec sheets, manuals, standards and published research on espresso and turn them into plain-English buying advice, with sources on every page. We do not run lab tests, and we say so openly.
- Spec sheets & standards read
- Sources on every page
- No lab tests – stated openly
- Publisher details in the imprint